Interceptors
Introduction
DIAL Interceptor is a pluggable component with the primary goal to implement Responsible AI approach and enforce compliance with organization and external policies and standards (biased answers, data leaks etc.).
Interceptors provide an ability to delegate content analysis to third-party systems or dedicated models used within an organization or have any other custom implementation in it.
Selected use cases:
- Prevent harmful request from reaching the model
- Prevent harmful reply from reaching the user
- Modify the request/response, introduce disclaimers
- DLP (Data Loss Prevention)
- Smart information collection
- Implement caching strategies
- Application of watermarks
DIAL Interceptors Python SDK makes development of new interceptors easier and enables integration with external systems like Google Model Armor, MS Presidio and more.
In DIAL, you can create and use templates to add interceptors, create interceptors based on images deployed in DIAL or third-party systems.
You can configure global interceptors that apply on a system level in System Properties and local interceptors that are triggered for specific model or application deployments or apps created based on application runners.
- Refer to Interceptors to learn more.
- Refer to DIAL Interceptors Python SDK for a comprehensive information, configuration and implementation examples.
Main Screen
On this screen, you can access all the available interceptors added via DIAL Admin or a direct modification of DIAL Core config file. Here, you can manage and add interceptors to your DIAL environment.
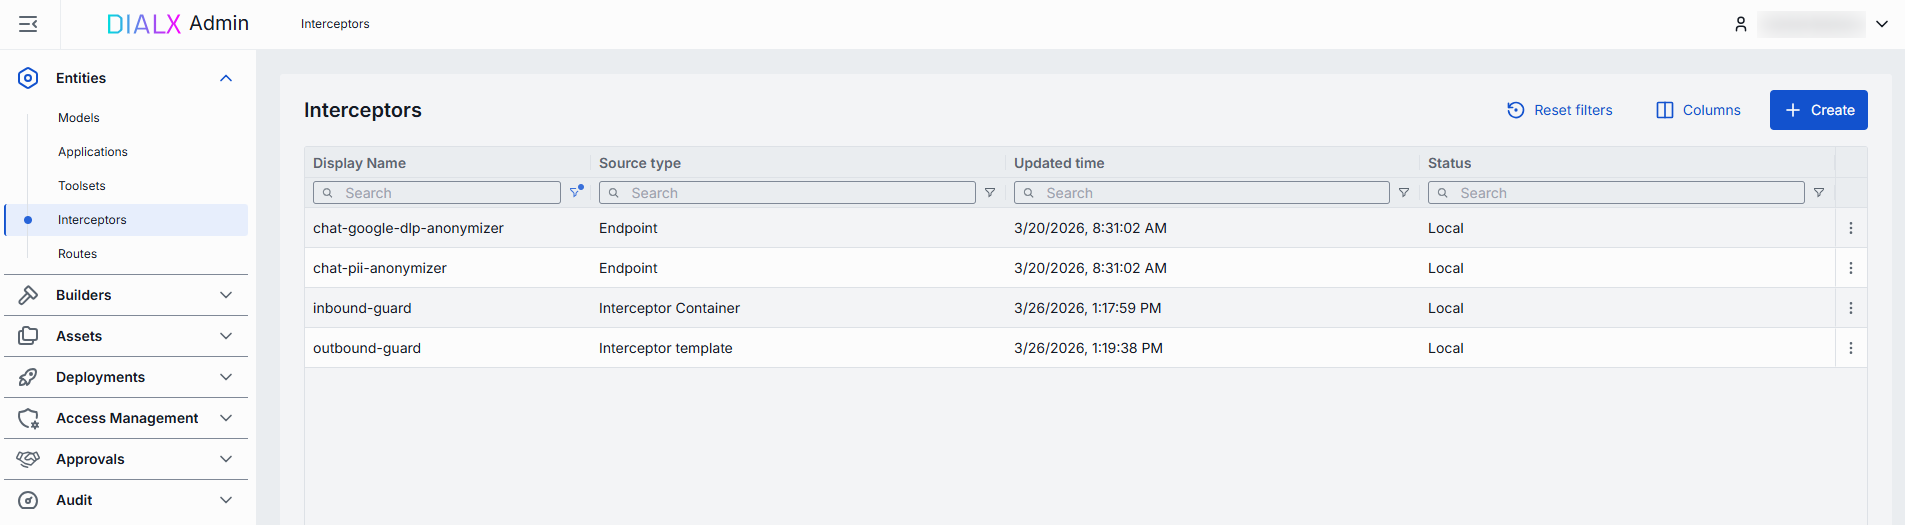
Interceptors grid
| Field | Description |
|---|---|
| Display Name | Name of the interceptor displayed on UI (e.g. "PII Information Remover"). |
| Description | Brief summary of what this interceptor does and any parameters it uses (e.g. BLACKLIST=bar or Logs request/response payloads). |
| ID | Unique identifier for the interceptor (e.g. reject-blacklisted-words, audit-logger). This key is used when you attach it to a Model or Application. |
| Source Type | Source type of the interceptor: - Interceptor Template: Interceptor is based on a template. - Interceptor deployment: Interceptor is based on a deployed interceptor image. - External Endpoint: Interceptor is based on an external HTTP endpoint. |
| Source | Identifier of the interceptor source: Interceptor's Template, Interceptor Container Id or Completion Endpoint URL, depending on the choice of the Source Type. |
| Author | Information about the interceptor's author. |
| Status | The current status of the interceptor. - local: Apply to selected deployments. - global: Apply to all deployments. |
| Topics | Tags that associate an interceptor with one or more topics or categories (e.g. "compliance", "logging"). |
| Creation Time | Entity creation timestamp. |
| Updated Time | Timestamp of the latest update of the entity. |
Create
Follow these steps to add a new definition of an interceptor:
-
Click + Create to invoke the Create Interceptor modal.
-
Define interceptor's parameters:
Column Required Description ID Yes Unique identifier for the interceptor (e.g. reject-blacklisted-words, audit-logger). This key is used when you attach it to a Model or Application. Display Name Yes Name of the interceptor (e.g. "PII Information Remover") displayed on UI. Description No Brief summary of what this interceptor does and any parameters it uses (e.g. BLACKLIST=bar or Logs request/response payloads). Source Type Yes Source type of the interceptor:
- Interceptor Template: Interceptor is based on a template.
- Interceptor deployment: Interceptor is based on a deployed interceptor image.
- External Endpoint: Interceptor is based on an external HTTP endpoint.Interceptor template Conditional Interceptor's Template Id. Applies for the Interceptor Template source type. Container Conditional Interceptor's Container Id. Applies for the Interceptor Container source type. Completion endpoint Conditional URL of the chat completion endpoint. Applies for the External Endpoint source type. -
Once all required fields are filled, click Create. The dialog closes and the new interceptor configuration screen is opened. Once added, a new entry appears in the Interceptors listing. It may take some time for the changes to take effect after saving.

Delete
Use the Delete button in the Configuration screen toolbar or on the main screen in actions menu to permanently remove the selected interceptor.

Configuration
Click any interceptor on the main screen to open its configuration details.
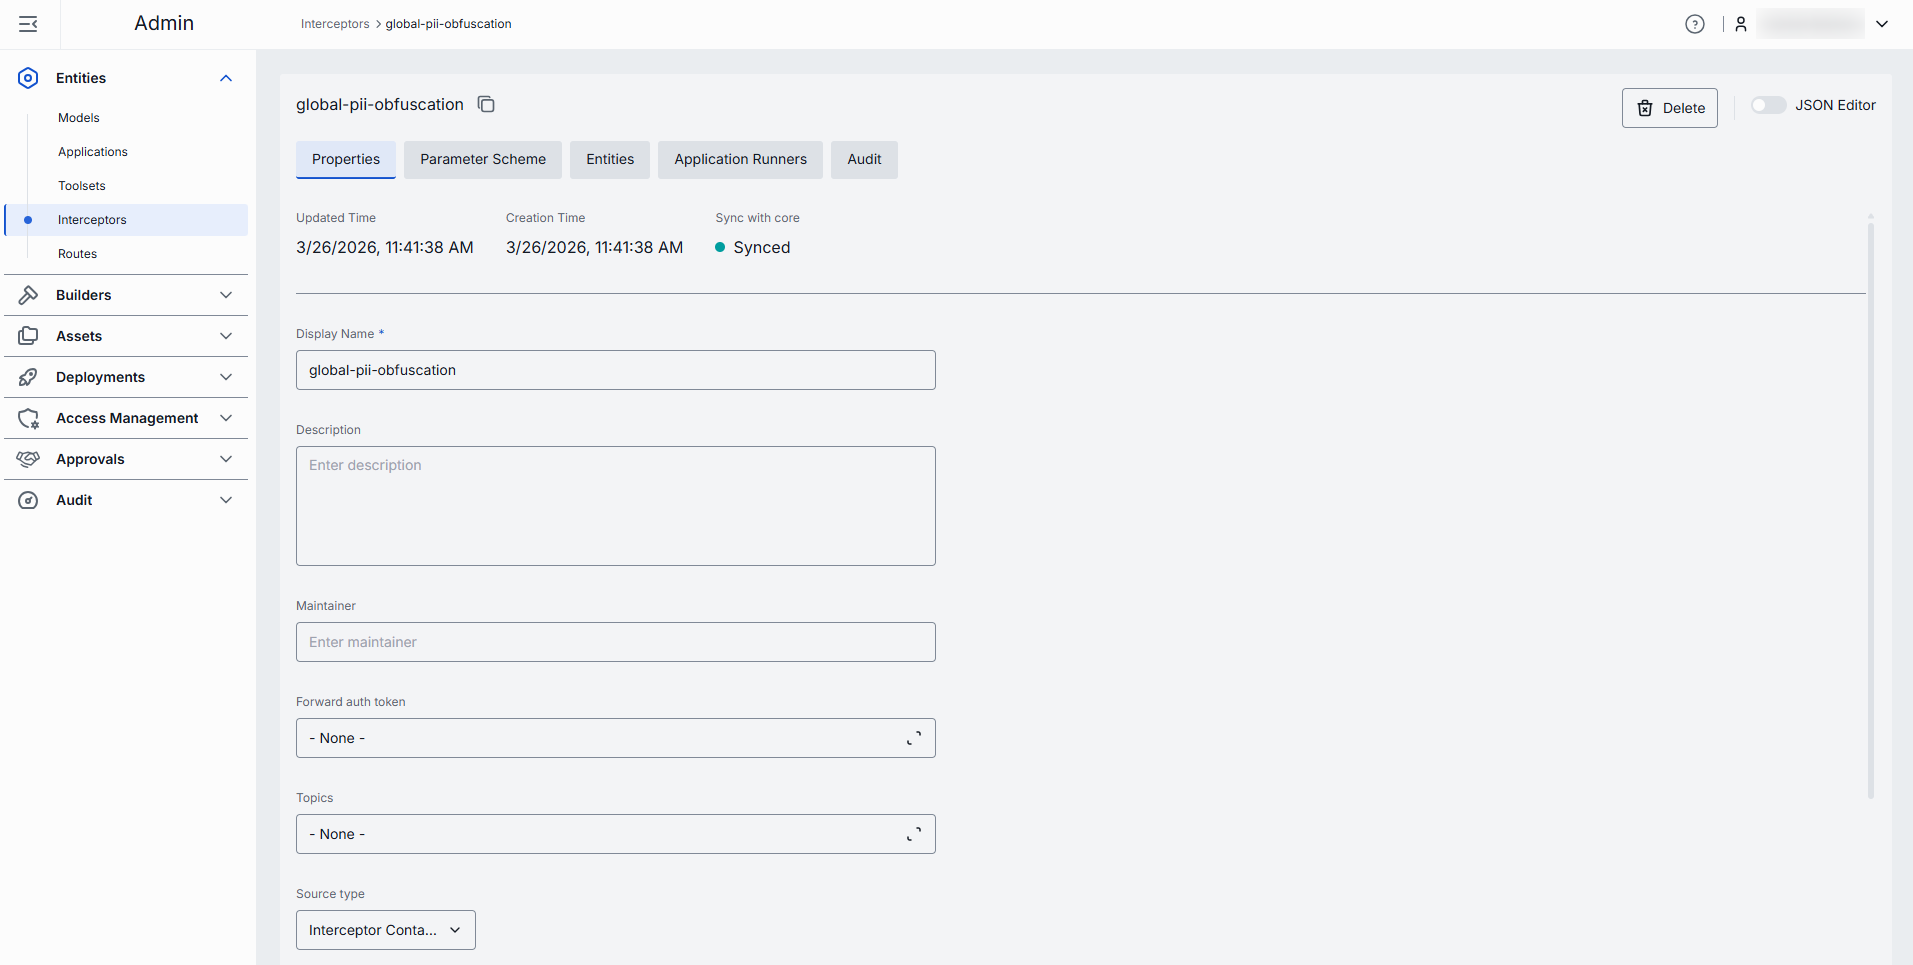
Properties
In the Properties tab, you can define metadata and execution endpoints for Interceptors.
| Field | Required | Editable | Description |
|---|---|---|---|
| ID | - | No | Unique key under interceptors in DIAL Core's dynamic settings (e.g. data-clustering, support-bot). |
| Updated Time | - | No | Date and time when the interceptor's configuration was last updated. |
| Creation Time | - | No | Date and time when the interceptor's configuration was created. |
| Status | - | No | Current status of the interceptor: - local: configured and applied to a specific instance of a deployment. - global: apply to any deployment in DIAL and tend to have the most strict rules, because they receive original input first and examine the response last. |
| Sync with core | - | No | Indicates the state of the entity's configuration synchronization between Admin and DIAL Core. Synchronization occurs automatically every 2 mins (configurable via CONFIG_AUTO_RELOAD_SCHEDULE_DELAY_MILLISECONDS).Important: Sync state is not available for sensitive information (API keys/tokens/auth settings). - Synced: Entity's states are identical in Admin and in Core for valid entities or entity is missing in Core for invalid entities. - In progress...: If Synced conditions are not met and changes were applied within last 2 mins (this period is configurable via CONFIG_EXPORT_SYNC_DURATION_THRESHOLD_MS).- Out of sync: If Synced conditions are not met and changes were applied more than 2 mins ago (this period is configurable via CONFIG_EXPORT_SYNC_DURATION_THRESHOLD_MS).- Unavailable: Displayed when it is not possible to determine the entity's state in Core. This occurs if: - The config was not received from Core for any reason. - The configuration of entities in Core is not entirely compatible with the one in the Admin service. |
| Display Name | Yes | Yes | Name of the interceptor displayed on UI (e.g. "PII Information Remover"). |
| Description | No | Yes | Description of the interceptor (e.g. BLACKLIST={"foo","bar"}). Helps to identify the interceptor and its purpose. |
| Maintainer | No | Yes | Identification of a responsible person or a team overseeing the interceptor and its configuration. |
| Forward Auth Token | Yes | Yes | This parameter allows to determine whether to forward an Auth Token to your interceptor's endpoint. Use this when your interceptor service requires its own authentication. If enabled, HTTP header with authorization token is forwarded to chat completion endpoint of the interceptor. |
| Source Type | Yes | Yes | Source type of the interceptor: - Interceptor Template: Interceptor is based on a template. - Interceptor deployment: Interceptor is based on a deployed interceptor image. - External Endpoint: Interceptor is based on an external HTTP endpoint. |
| Completion Endpoint | Conditional | Yes | URL of the chat completion endpoint. Applies for the External Endpoint source type. |
| Configuration Endpoint | Conditional | Yes | The URL that exposes the configuration of the interceptor. This endpoint returns JSON schema with configuration parameters that are rendered in the Parameter Scheme tab. Applies for the External Endpoint source type. |
| Interceptor template | Conditional | Yes | Interceptor's template Id. Applies for the Interceptor Template source type. |
| Container | Conditional | Yes | Interceptor's Container Id. Applies for the Interceptor deployment source type. |
| Defaults | No | Yes | The interceptor configuration could be preset on the per-interceptor basis via the defaults field. Default parameters are applied if a request doesn't contain them in OpenAI chat/completions API call. Refer to Interceptors SDK to learn more. |
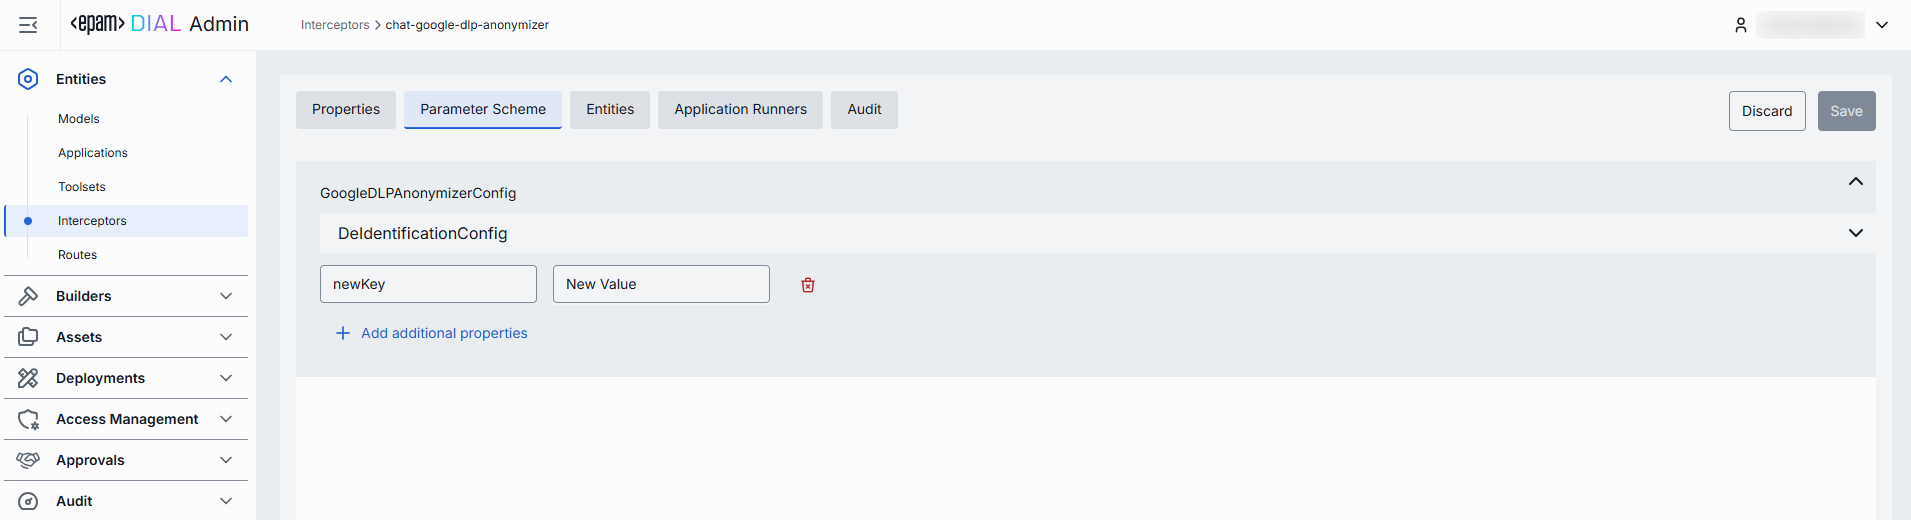
Parameter Scheme
In this tab, you can define additional configuration parameters for the interceptor. The parameters displayed in this section are defined by the JSON schema returned by the configuration endpoint specified in the Properties tab when the source type External Endpoint is selected or by the configuration endpoint of the related interceptor template. If a valid endpoint is specified, the content on this screen is rendered automatically based on the JSON schema returned by that endpoint. Rendered parameters are pre-populated with their default values. In case the invalid configuration endpoint is provided, "No Configuration Scheme" state is shown instead.
Entities
In the Entities tab, you can see Models and Applications this interceptor is currently associated with.
TIP: You can also define this mapping on the Models and Applications configuration screens in the Interceptors tab.
| Column | Description |
|---|---|
| ID | Unique identifier of the Application or Model deployment. |
| Display Name | Name of the Application/Model deployment (e.g. "Data Clustering Application"). |
| Description | Description of the deployment. |
| Type | Type of the entity using the given interceptor: Model, Application. |
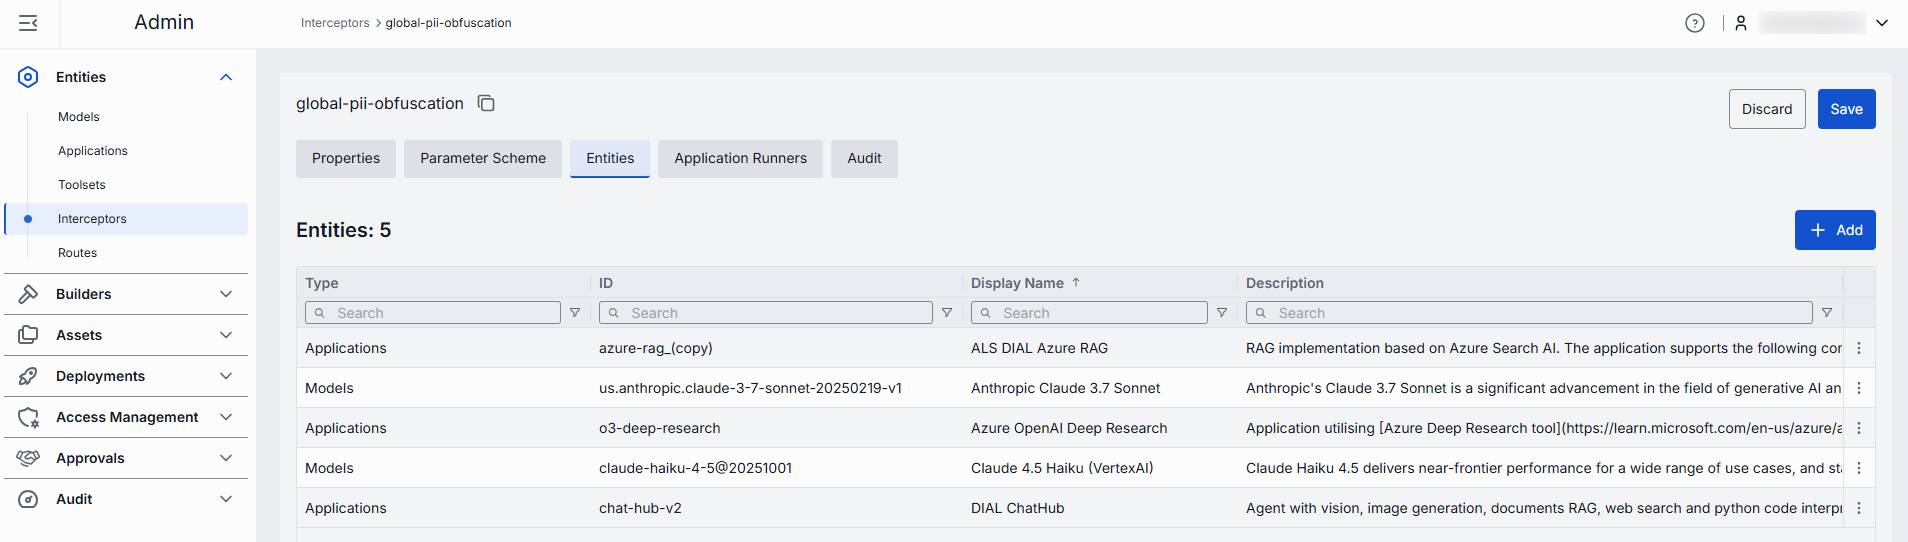
Add
On this screen, you can add a model or application to associate them with the selected interceptor.
- Click + Add (top-right of the Entities Grid).
- Select one or more apps/models in the modal.
- Apply to complete action.
Remove
- Click the actions menu in the entity's line.
- Choose Remove in the menu.
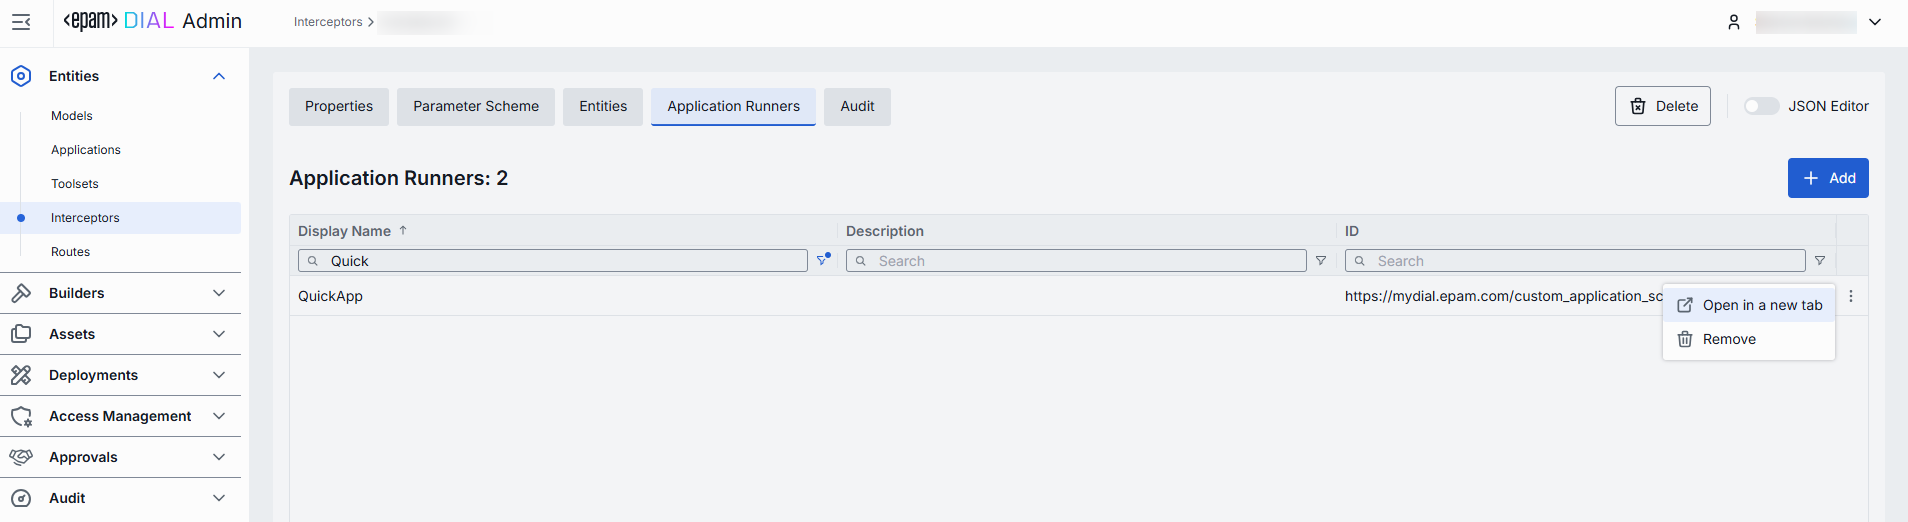
Application Runners
In this tab, you can see Application Runners a specific interceptor is currently associated with. Application Runners are used to run schema-rich applications of specific types. By creating this binding, you can determine what types of applications will use the selected interceptor during their execution.
TIP: You can also define this mapping on the Application Runners configuration screen in the Interceptors tab.
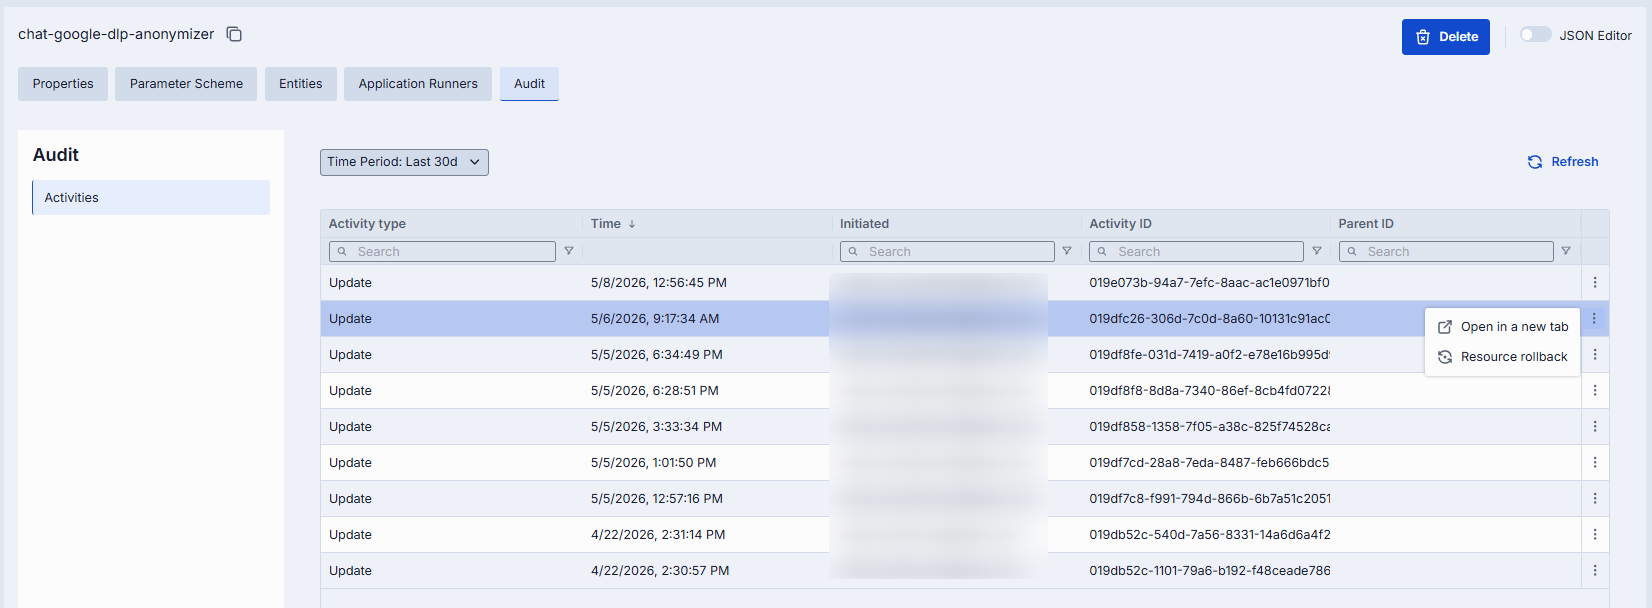
Audit
On this screen, you can access a detailed preview and revert any changes made to the selected interceptor.
Note: This section mimics the functionality available in the global Activity section, but is scoped specifically to the selected interceptor.
JSON Editor
Advanced users with technical expertise can work with the interceptor properties in a JSON editor view mode. It is useful for advanced scenarios of bulk updates, copy/paste between environments, or tweaking settings not exposed on UI.
TIP: You can switch between UI and JSON only if there are no unsaved changes.
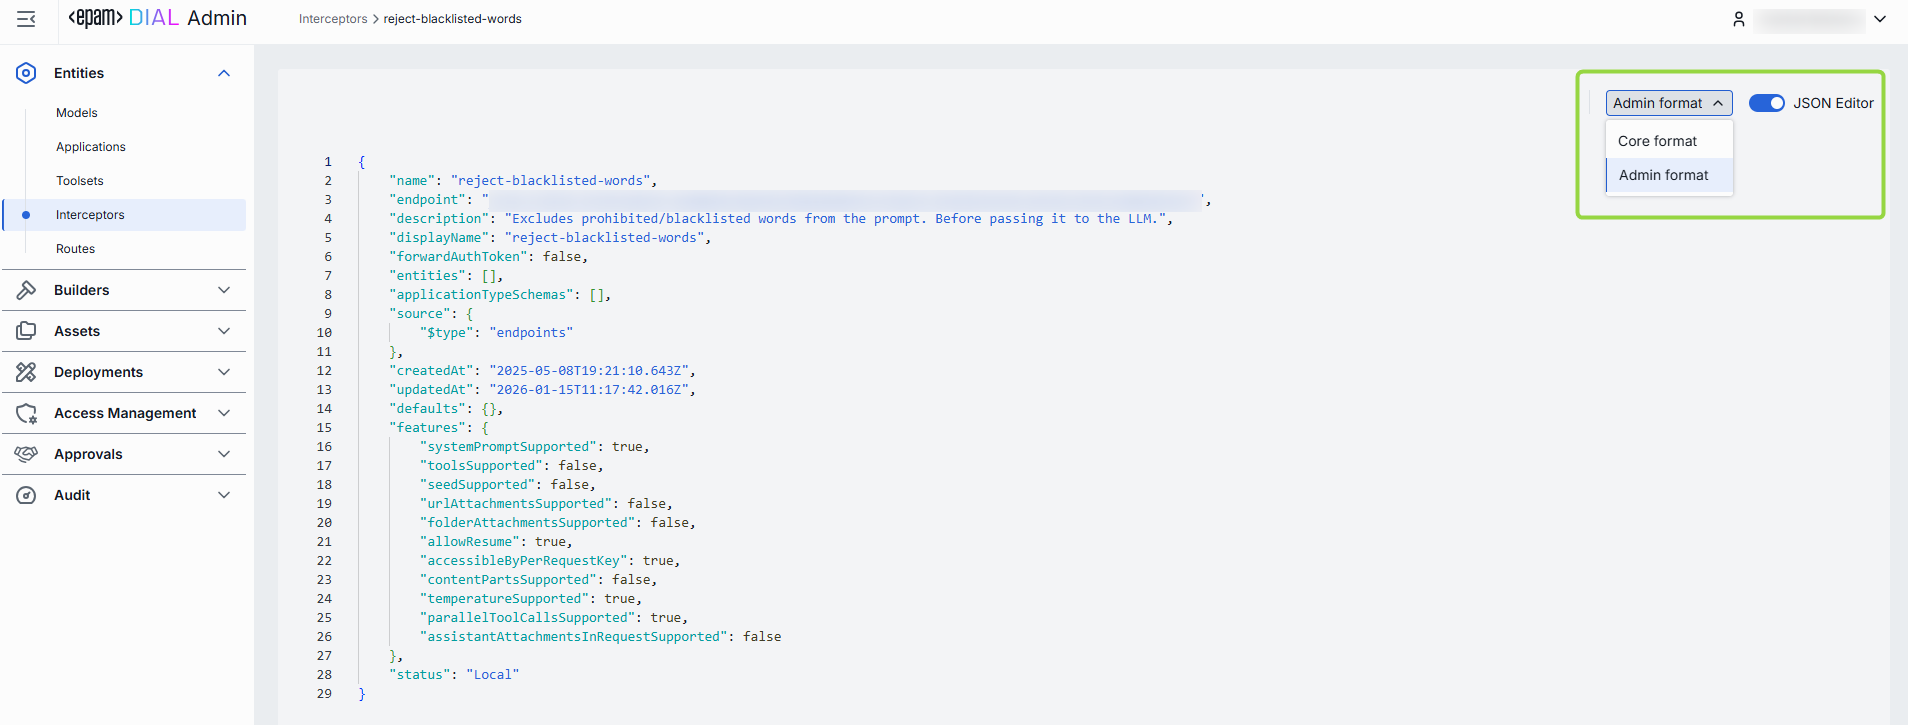
Working with JSON Editor
- Navigate to Entities → Interceptors, then select the interceptor you want to edit.
- Click the JSON Editor toggle (top-right). The UI reveals the raw JSON.
- Chose between the Admin and Core format to see and work with properties in the necessary format. Note: Core format view mode does not render the actual configuration stored in DIAL Core but the configuration in Admin service displayed in the DIAL Core format.
- Make changes and click Save to apply them.
- After making changes, the Sync with core indicator on the main configuration screen will inform you about the synchronization state with DIAL Core.